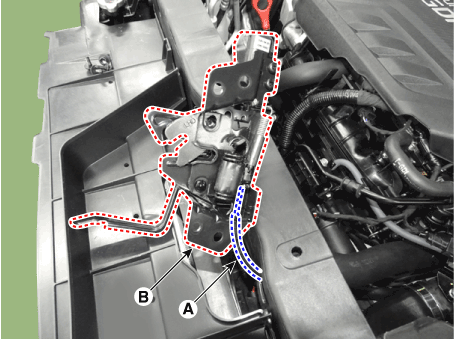
 Hyundai Santa Fe (TM): Hood
Repair procedures
| Adjustment |
| 1. |
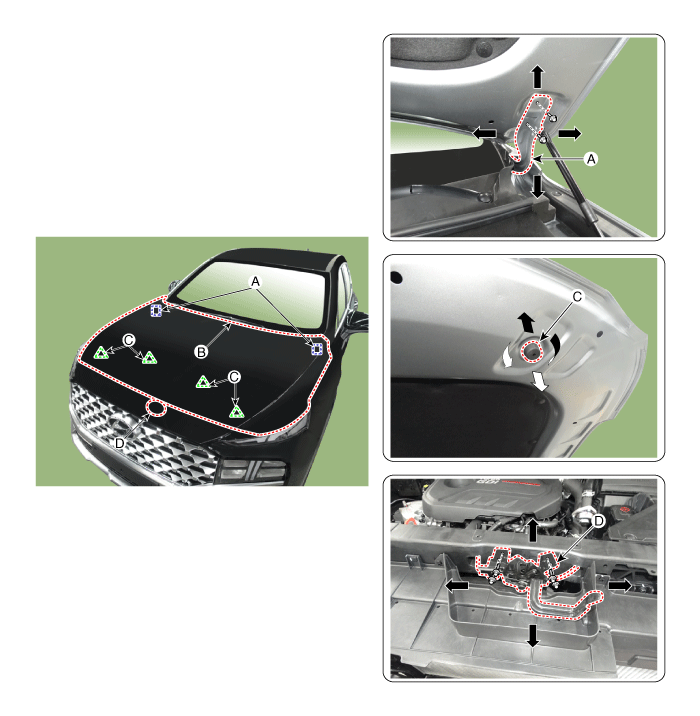
After loosening the hinge (A) mounting bolt, adjust the hood (B) by
moving it up and down or from side to side and tighten the bolt.
|
| 2. |
Adjust the hood height by moving the hood overslam bumpers (C) up and
down.
|
| 3. |
After loosening the hood latch (D) mounting bolts, adjust the latch
by moving it up and down or from side to side.
|
Hood Assembly. Components and components location
| Component Location |
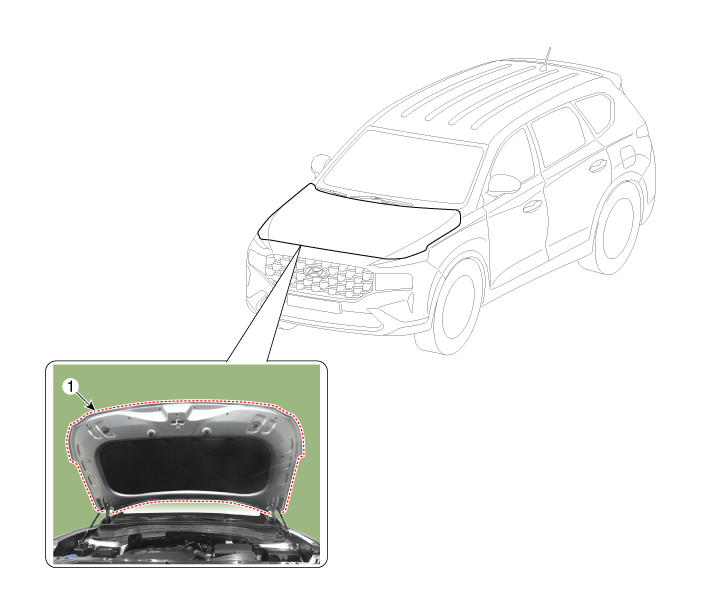
| 1. Hood assembly
|
Hood Assembly. Repair procedures
| Replacement |
|
|
| 1. |
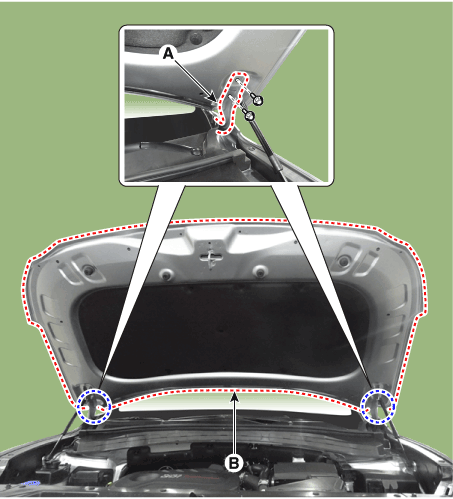
After loosening the hood hinge (A) mounting bolts, remove the hood assembly
(B).
|
| 2. |
To install, reverse removal procedure.
|
Hood Insulator Pad. Repair procedures
| Replacement |
| 1. |
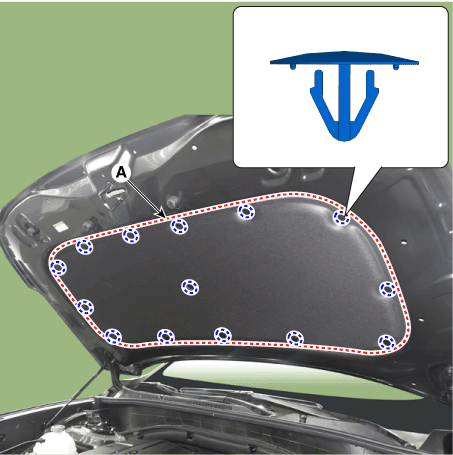
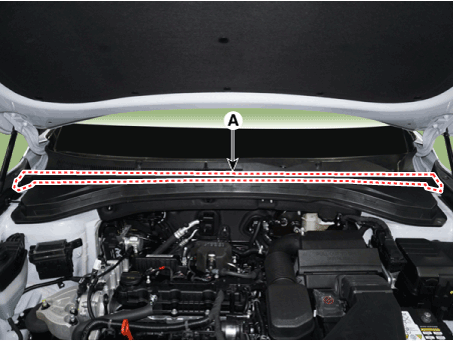
Using a clip remover, remove the clips and then the hood insulator pad
(A).
|
| 2. |
To install, reverse removal procedure.
|
Hood Lift. Repair procedures
| Replacement |
|
| 1. |
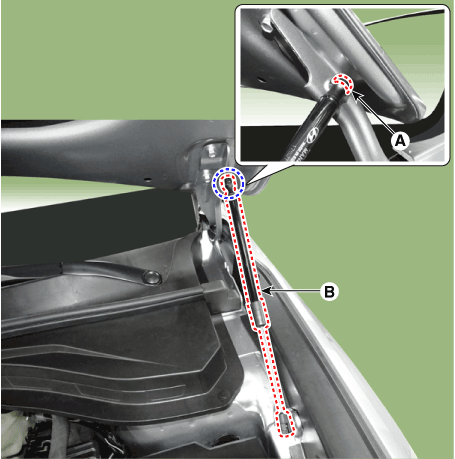
Using a screwdriver, lift the socket clips (A) up slightly on both ends
of the lifter (B).
|
| 2. |
Push the socket of the lifter into the bracket for installation.
|
Hood Weatherstrip. Repair procedures
| Replacement |
| 1. |
Remove the hood weatherstrip (A).
|
| 2. |
To install, reverse removal procedure.
|
Hood Latch Release Handle. Components and components location
| Component Location |
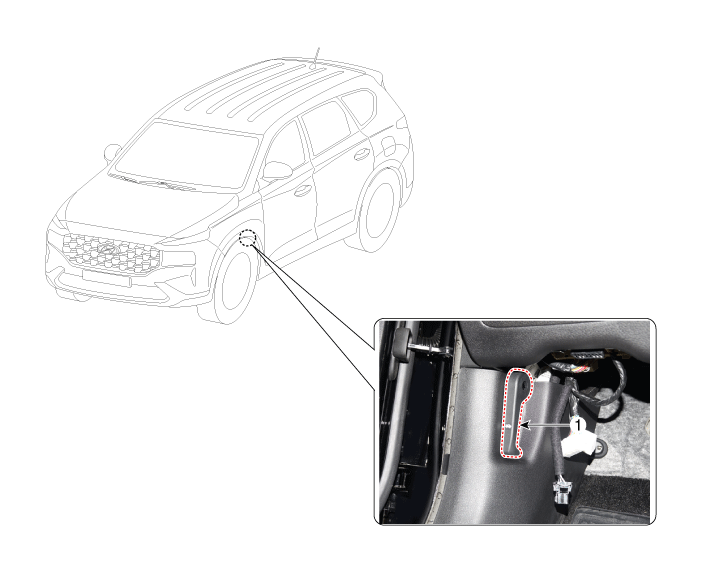
| 1. Hood latch release handle |
Hood Latch Release Handle. Repair procedures
| Replacement |
| 1. |
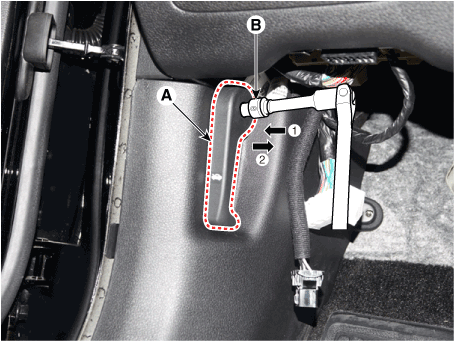
Using a socket (B), remove the hood release handle (A).
|
| 2. |
To install, reverse removal procedure.
|
Hood Latch. Components and components location
| Component Location |
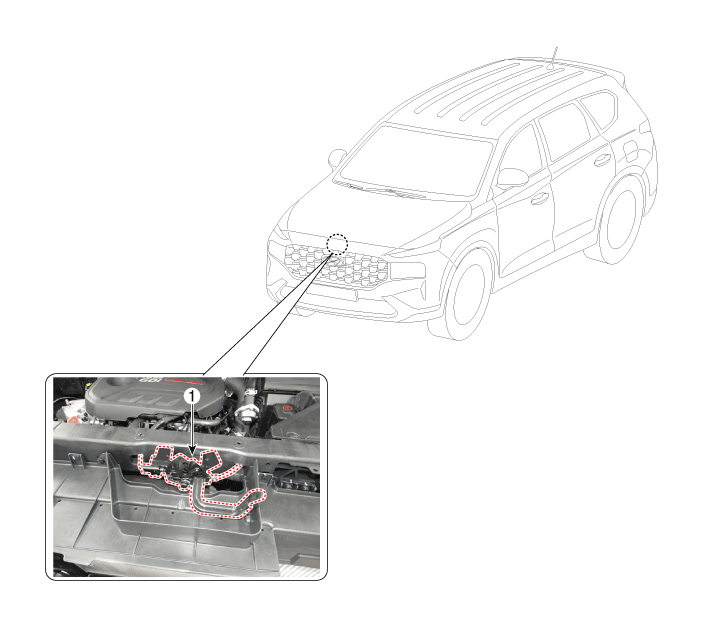
| 1. Hood Latch Assembly |
Hood Latch. Repair procedures
| Replacement |
| 1. |
Remove the front bumper assembly.
(Refer to Front Bumper - "Front Bumper Assembly")
|
| 2. |
Press the rock pin to separate the hood latch connector (A) and disconnect
wiring clip.
|
| 3. |
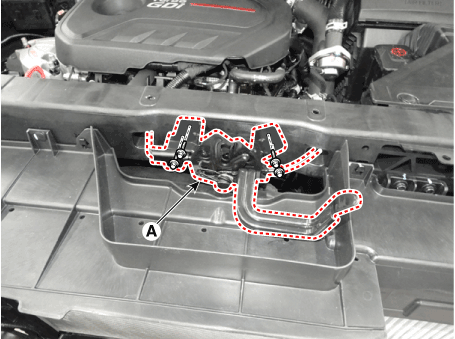
Loosen the mounting bolts and clip from the hood latch (A).
|
| 4. |
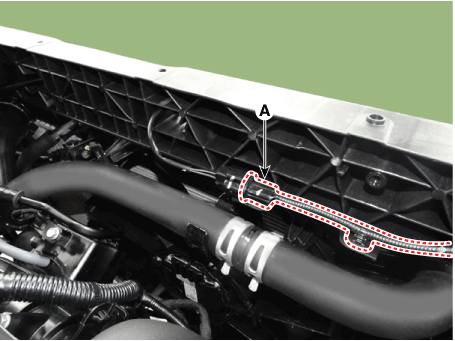
Remove the hood release handle cable (A) from the hood latch (B).
|
| 5. |
To install, reverse removal procedure.
|
 Fender
Components and components location Component Location 1. Fender assembly Repair procedures Replacement • When removing the fender, wrap protective tape around a screwdriver or remover not ...
 Tail Gate
Repair procedures Adjustment 1. Place the car on a flat surface and check whether the body and trunk lid are well-aligned. 2. After loosening the tailgate hinge (A) mounting bolt, adjust the tailgate by ...
See also:
Front Seat Belt Buckle. Components and Components Location
Component Location 1. Front seat belt buckle ...
Vehicle Identification Number (VIN). Vehicle certification label. Tire specification
and pressure label
Vehicle Identification Number (VIN) The vehicle identification number (VIN) is the number used in registering your vehicle and in all legal matters pertaining to its ownership, etc. The number is punched ...
Exterior overview
Front view 1. Panoramic sunroof 2. Front windshield wiper blades 3. Outside rearview mirror 4. Door locks 5. Headlight 6. Front fog light 7. Hood 8. Tires and wheels Rear view 1. Antenna 2. Defroster ...

