 Hyundai Santa Fe (TM): Rear Bumper
Components and components location
| Components |
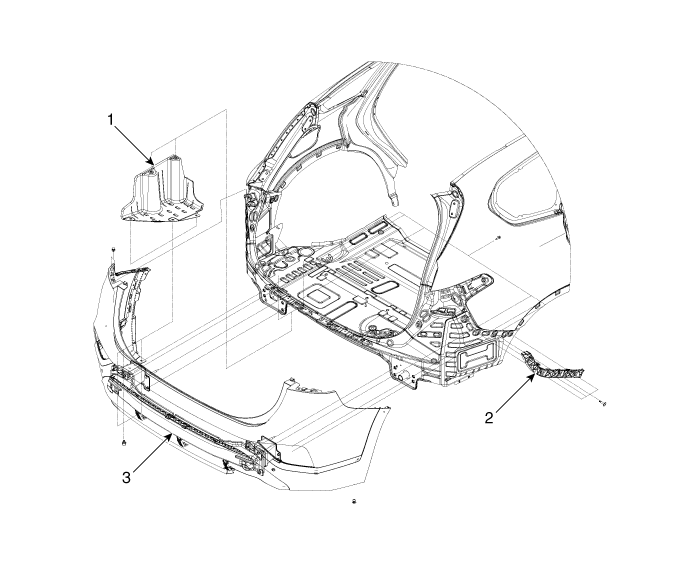
| 1. Rear Bumper
Side Under Cover 2. Rear Bumper Side Bracket |
3. Rear Bumper
Assembly |
Rear Bumper Assembly. Components and components location
| Component Location |
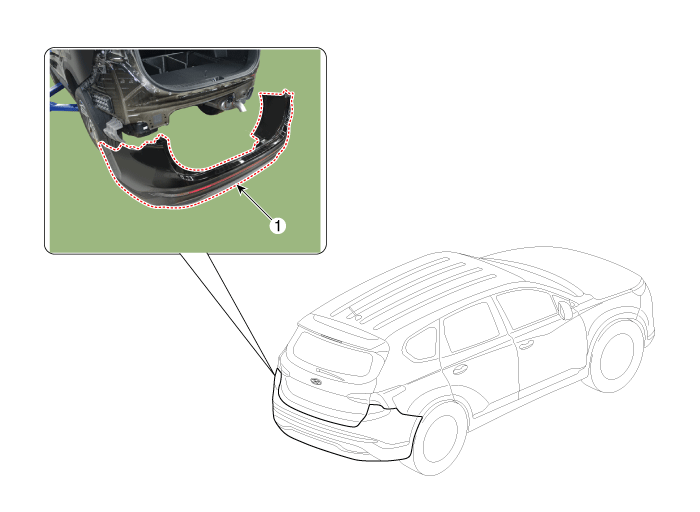
| 1. Rear Bumper
Assembly |
Rear Bumper Assembly. Repair procedures
| Replacement |
|
|
| 1. |
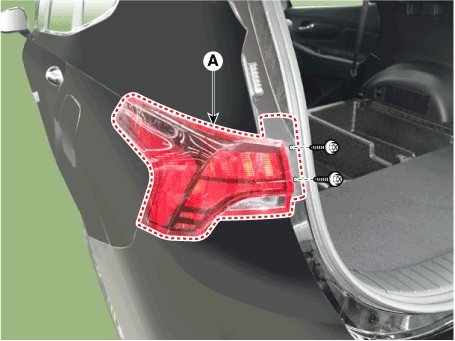
Remove the plug hole, loosen the mounting screws and then remove the
rear combination lamp (A).
|
| 2. |
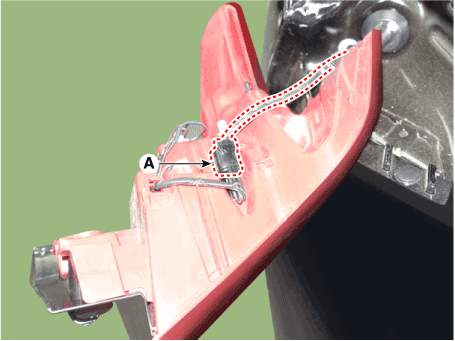
Press the lock pin, separate the rear combination lamp connector (A).
|
| 3. |
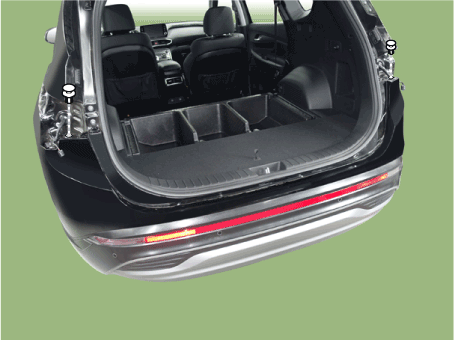
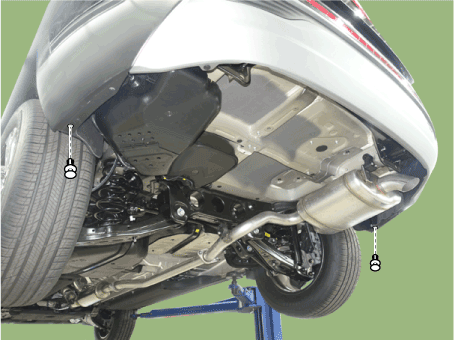
Loosen the rear bumper mounting clips.
[Upper]
[Lower]
|
| 4. |
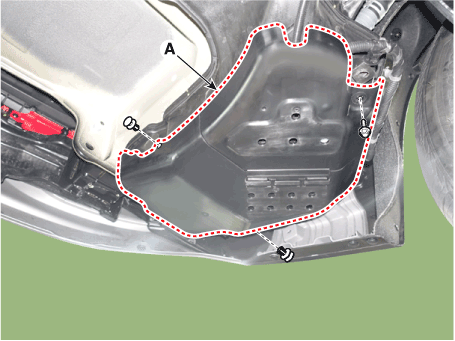
Loosen the mounting nut and clips, remove the urea tank cover (A).
|
| 5. |
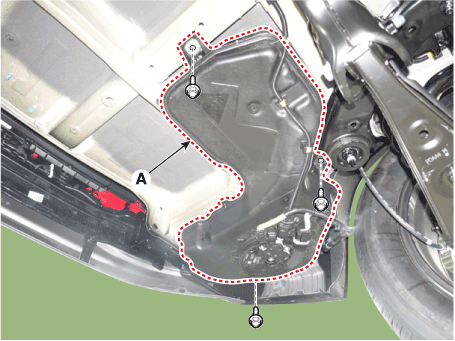
Loosen the mounting nuts, disengage the urea tank (A).
|
| 6. |
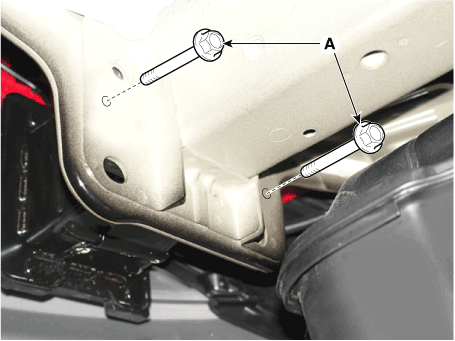
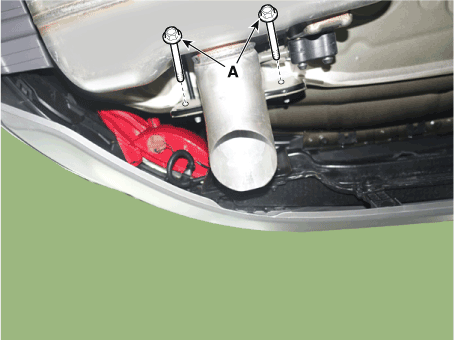
Loosen the rear bumper assembly mounting bolts (A).
[LH]
[RH]
|
| 7. |
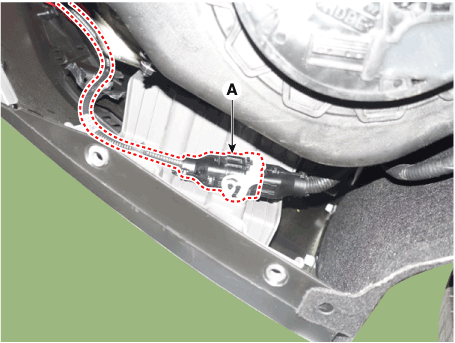
Press the lock pin, separate the rear bumper main connector (A).
|
| 8. |
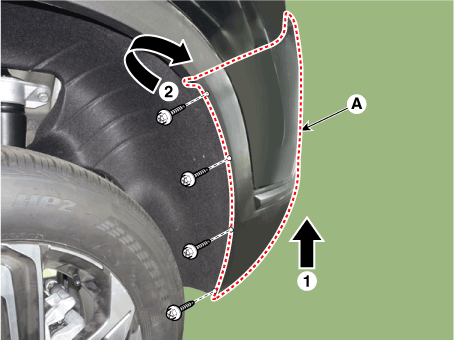
Loosen the mounting screws and retainer on the side of rear bumper (A),
detach the side part of rear bumper.
|
| 9. |
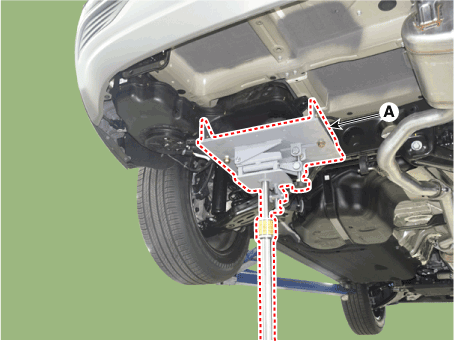
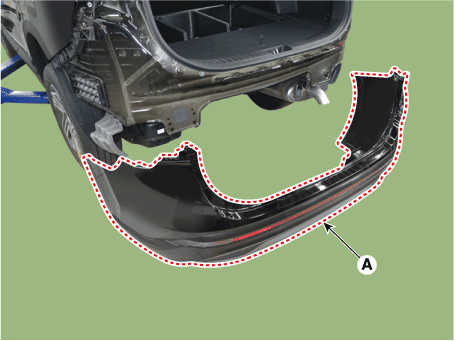
Remove the rear bumper assembly (A).
|
| 10. |
To install, reverse removal procedure.
|
Rear Bumper beam Assembly. Components and components location
| Component Location |
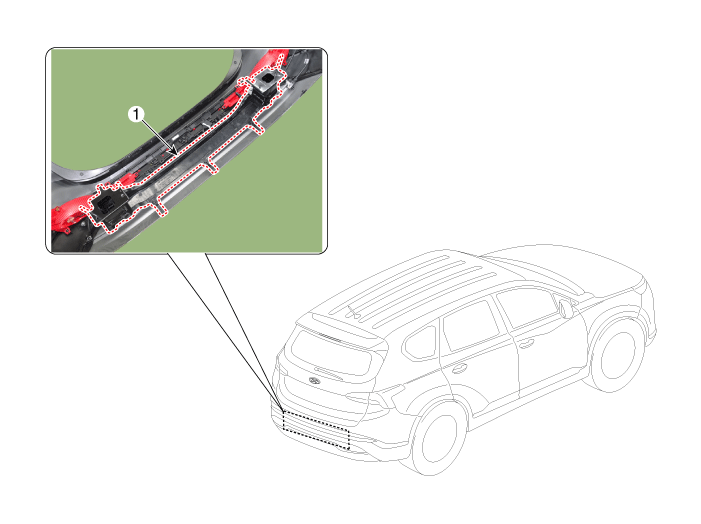
| 1. Rear Bumper
Beam Assembly |
Rear Bumper beam Assembly. Repair procedures
| Replacement |
|
|
| 1. |
Remove the rear bumper assembly.
(Refer to Rear Bumper - "Rear Bumper Assembly")
|
| 2. |
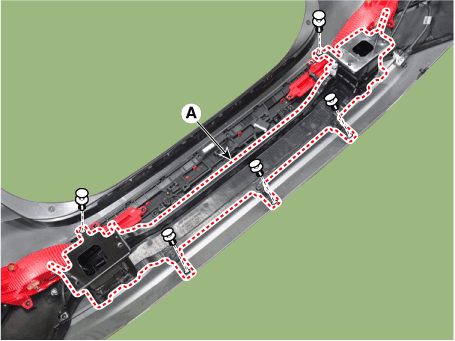
After loosening the mounting clips, remove the rear bumper beam assembly
(A).
|
| 3. |
To install, reverse removal procedure.
|
 Front Bumper
Components and components location Components 1. Front bumper side bracket [LH] 2. Front bumper side bracket [RH] 3. Front bumper assembly Front Bumper Assembly. Components and components location Component ...
 Front Seat
Front Seat Assembly. Components and components location Component Location 1. Front seat headrest 2. Front seat back cover 3. Front seat cushion cover Front Seat Assembly. Repair procedures Replacement ...
See also:
Seat belt restraint system
WARNING For maximum restraint system protection, the seat belts must always be used whenever the car is moving. Seat belts are most effective when seatbacks are in the upright position. Children age 12 ...
Schematic Diagrams
Circuit Diagram (1) Circuit Diagram (2) Circuit Diagram (3) SRSCM Connector terminal Pin Function (Connector A) Pin Function (Connector B) 1 Ignition 1 Seat belt pretensioner [Driver] High 2 Passenger ...
Automatic Transaxle Cooling System
Description and operation Description • Engine coolant is used for circulating heat in order to heat and cool the transaxle oil. • Prevents over heating of the transaxle oil while the vehicle is moving. ...


